
Using GarageBand to Produce a Podcast
Part 2 - Recording Audio
Audio Tracks
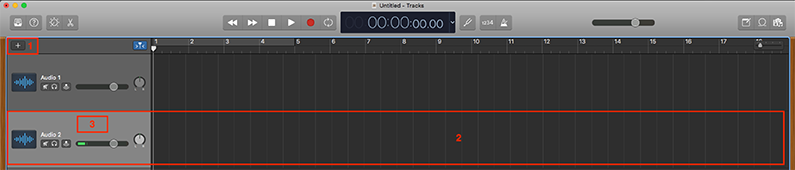
Your new GarageBand project is populated with a single track called Audio 1 (1). Any audio that is recorded will appear in the workspace area of the window (2).

You can add additional tracks by clicking on the ‘+’ button (1). You will be prompted to select the type of track again (audio). The new track will appear directly underneath the first track (2). You will want to turn off the Library and Smart Controls again. To select the track that you want to work on simply click on it so that it turns a lighter shade of gray (3).
Recording Levels
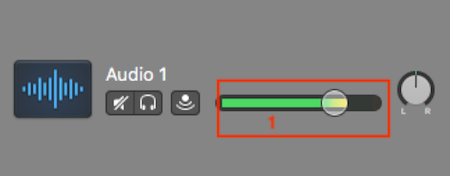
Before you start recording it is a good idea to check the input level of your microphone. Use the level meter (1) to monitor the level. You will see the meter move in reaction to the sound being picked up by the microphone. Keep the level meter out of the red to prevent distortion in your recordings.
Recording Audio
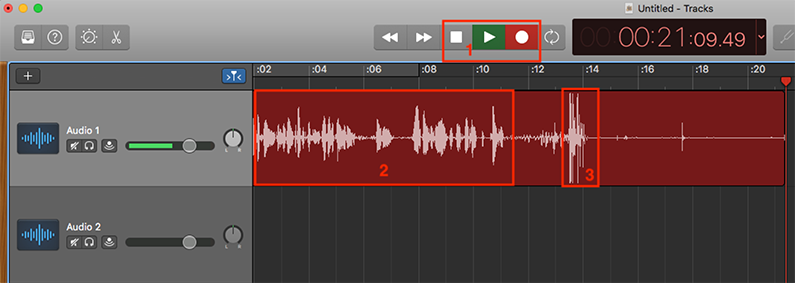
Use the transport controls to start and stop recording (1). As the recording progresses you will see a red audio waveform appear (2). This is another good way of assessing the input level of your microphone. Try and keep the peaks of the waveform from hitting the top and the bottom of the track timeline (3).
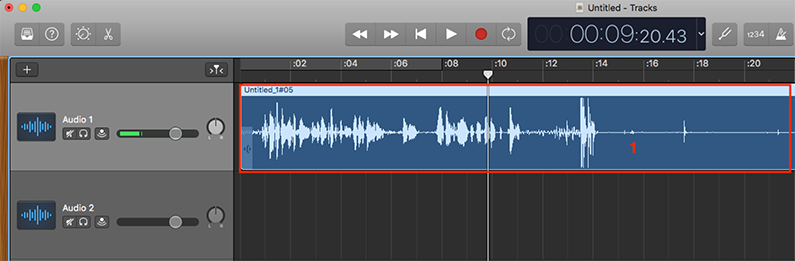
Once the recording has stopped the audio region will turn blue (1).