
Using GarageBand to Produce a Podcast
Part 1 - Creating Your Podcast Project
Open GarageBand
(If you don’t see the GarageBand icon in the Dock look in the Applications folder, or search for it using Spotlight - the small magnifying glass in the top right hand corner of the screen).
Choose your ‘Project Type’
GarageBand has a number of templates available. From the ‘Choose a Project’ window make sure ‘New Project’ (1) is highlighted and then select the ‘Empty Project’ (2) template.

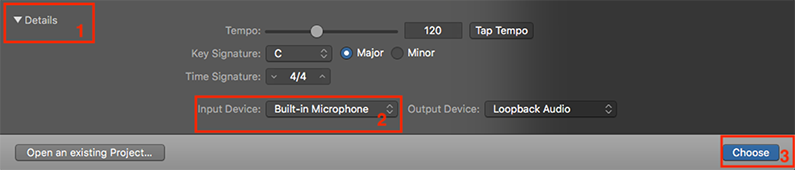
Choose your ‘Input Device’
You will need to choose which microphone you are going to use with GarageBand. Click on the small triangle next to ‘Details’ (1) and then select the appropriate microphone from the ‘Input Device’ (2) dropdown menu. Next, click on ‘Choose’ (3).
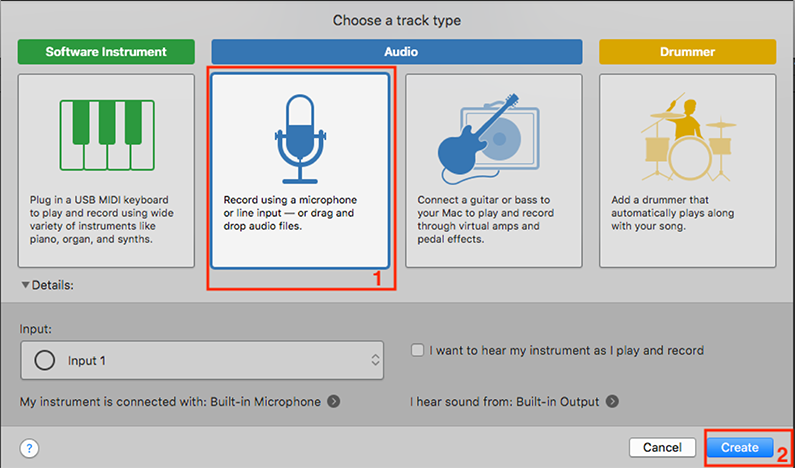
Choose Your Track Type.
Select the microphone icon form the ‘Audio’ (1) track type and then click ‘Create’ (2).
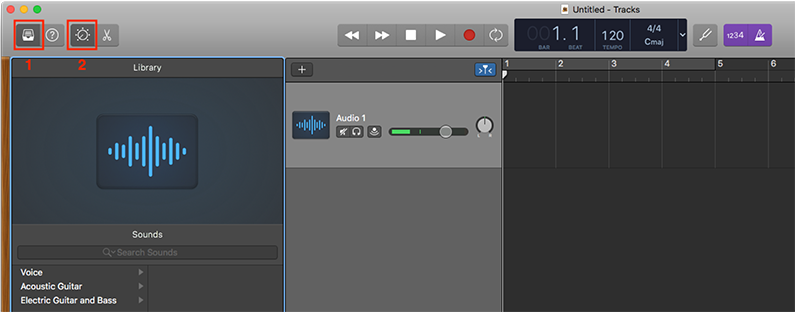
Modify the GarageBand Window
When your new project opens up you will see a number of interface elements, some of which you will not need for creating a simple podcast.
Click on the ‘Library’ (1) button and the ‘Smart Controls’ (2) button in the top left of the screen. This will simplify the GarageBand window and give you more space for the elements that are needed.
Turn off the ‘Count-in’ (1) and the ‘Metronome’ (2) buttons by clicking on them so that they turn gray.
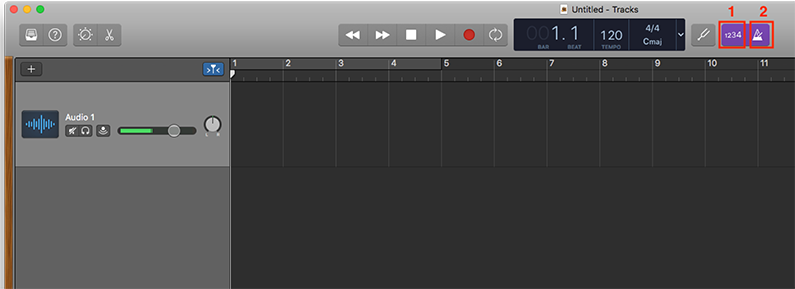
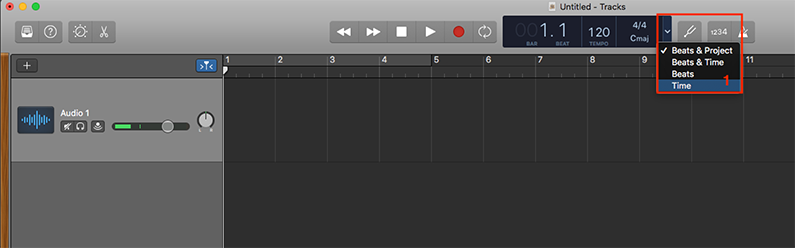
Finally we’ll change the ‘Display' to show ‘Time’ by clicking on the small triangle (1) at the side of the ‘Display’.
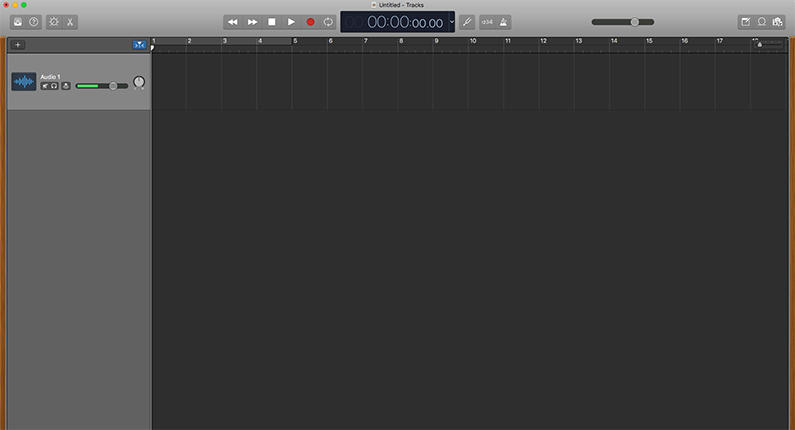
We should now have the GarageBand window set up for our Podcast project.
Save Your Project
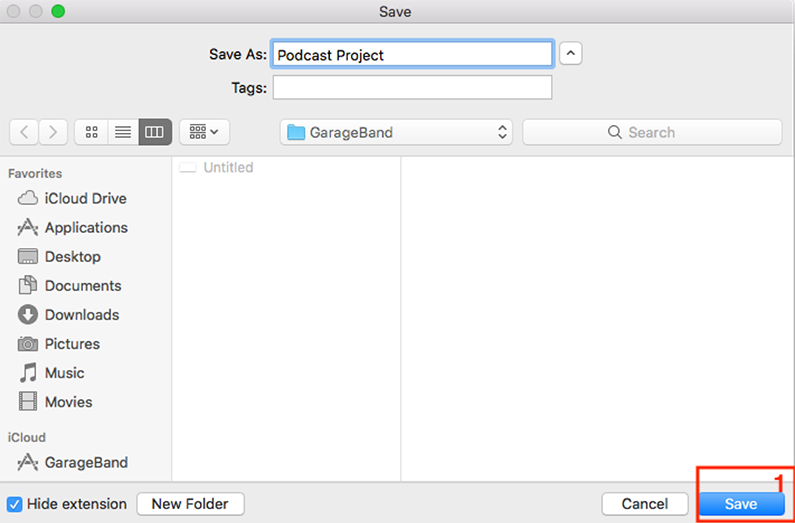
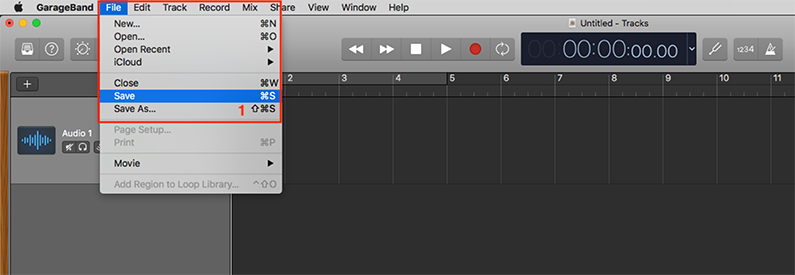
GarageBand saves all of your audio files, edits and automation data into a single GarageBand project file. Now is a good time to save this project. From the ‘File’ menu choose ‘Save’ (1).
By default, GarageBand will save you projects in the GarageBand folder in your Music folder which is in your home folder. You can change this location using the dialog box. Click ‘Save’ (1) when you’re ready.